
Can You Hear Me Now?

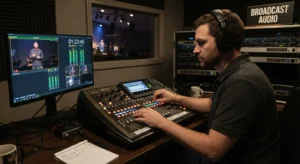
Auto is very important when doing streaming video! I would dare to say audio is more critical than video when it comes to streaming. But bridging the audio gap is often the hardest hurdle in church live streaming. Why? Because live sanctuaries and digital streams have opposing acoustic needs: physical rooms require raw acoustic power and natural room reflections, while online streams demand tight dynamic control and high speech intelligibility for phone speakers, laptops, and TV soundbars.
If your online congregation is struggling to hear the sermon or muting the worship set, here are some essential steps to dial in a professional, balanced broadcast mix.
1. Establish a Completely Independent Broadcast Mix
Never take a simple stereo “matrix out” or “main LR” from the front-of-house (FOH) console and feed it straight to your encoder.
- Use Dedicated Aux Sends or a Matrix: Set up dedicated post-fade auxiliary sends (or a dedicated broadcast matrix) for your online mix. This allows you to adjust levels independently from the house mix.
- Balance for the Stream: For example, the acoustic drum kit might need to be lower in the room because sound naturally fills the sanctuary, but it needs significantly more body and presence in the broadcast mix, where the stream camera only captures direct guitar amps and vocals.
2. Solve the Congregational Audio Dilemma
A stream with zero room noise feels sterile—like a studio album playing over a static slide. However, leaving open ambient mics everywhere can capture muddy room reflections, HVAC hum, and random coughs.
- Strategic Mic Placement: Use a matched pair of small-diaphragm condensers flown or mounted facing the congregation. Position them to capture genuine room energy and congregational singing without picking up excessive stage bleed.
3. Dial in Broadcast Dynamics (Compression & Loudness)
Live concert dynamics rarely translate well to living rooms where viewers are watching on mobile devices or tablets.
- Tighter Dynamic Range: Online viewers will turn their volume up to hear a quiet prayer, only to have their speakers blown out when the full band drops back in. Apply conservative, transparent compression on individual vocal channels, followed by a bus compressor on the broadcast master to smooth out peaks and keep levels consistent.
4. Lock Down Lip-Sync Drift
Audio processing plugins, digital video switchers, hardware encoders, and converter boxes (like SDI-to-HDMI) all introduce varying degrees of latency. Because video processing almost always takes longer than audio processing, your audio will typically arrive before the video.
- Hardware Alignment Delays: Keep a dedicated audio delay block at the very end of your broadcast signal chain—either in your digital console or inside your streaming software/encoder.
- The Clapper Test: Use a visual and audible transient—such as a sharp hand clap or a sync-flash-and-beep test video played on the main screens—while recording the stream locally. A frame-by-frame review in your video editor will reveal exactly how many milliseconds of audio delay are required to sync video and audio perfectly.
Mixing Live Music
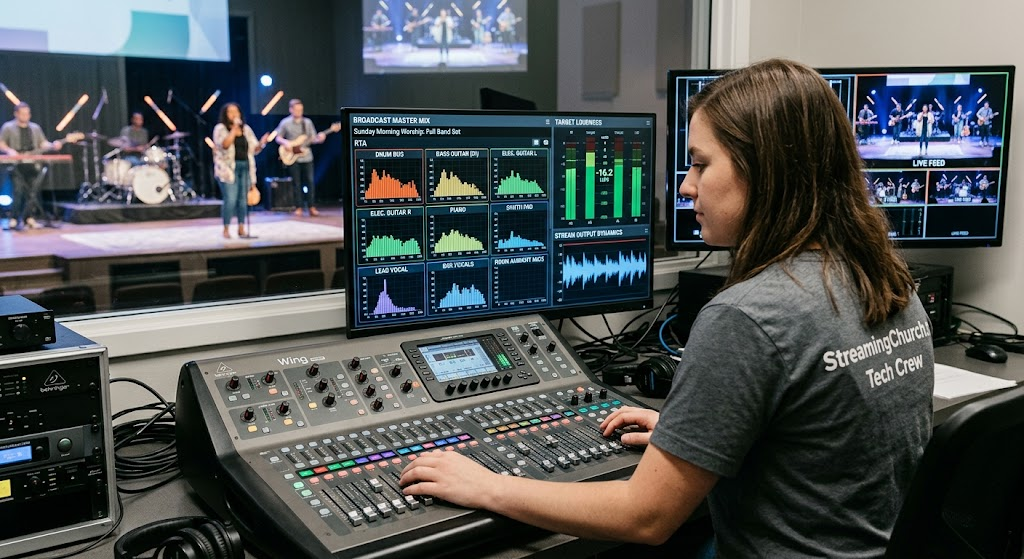
Mixing live worship music for an online broadcast requires a completely different approach than mixing for the room. In the sanctuary, you have acoustic drum energy, acoustic guitar bleed, and natural room reflections filling the space. Online, viewers are listening through flat TV soundbars, phone speakers, or headphones—meaning every detail, imbalance, or missing element is magnified.
1. Build a Solid Audio Foundation (Drums & Bass)
In the room, a drum kit—especially acoustic drums—often dominates stage volume without needing much reinforcement through the main sound system. Online, if it’s not in the mix, viewers won’t hear it at all.
- Drums Need Presence: Make sure every drum component (kick, snare, toms, and overheads) is individually mic’d and routed to your broadcast sub-mix or aux send. Use high-pass filters (HPF) on overheads and toms to eliminate low-end rumble while keeping clarity in the cymbals.
- Tighten the Bass Direct Input (DI): Electric bass needs to provide the low-end anchor without turning into a muddy drone. Apply a tight high-pass filter around 30Hz–40Hz to strip useless sub-bass frequencies, and use gentle compression (2:1 or 3:1 ratio) to smooth out the bassist’s dynamic playing style.
2. Carve Out Frequency Space for Guitars & Keys
Worship bands frequently feature multiple electric guitars, acoustic guitars, synth pads, and pianos. If all these instruments fight for the same mid-range frequencies, your live stream audio will sound cluttered and harsh.
- High-Pass Filtering (HPF) is Your Best Friend: Engage high-pass filters on almost every channel (except kick drum and bass guitar). Roll off acoustic guitars and keyboards around 80Hz–100Hz to prevent them from overwhelming the low end.
- Stereo Panning for Space: If you are broadcasting in stereo, pan your rhythm elements across the stereo field. For instance, pan one electric guitar slightly left (20–30%) and another slightly right. Keep the kick, snare, bass, and lead vocal dead center.
3. Blend the Lead Vocal On Top (Without Overwhelming the Band)
In a live sanctuary, FOH engineers often push vocals loud to cut over stage amps and drum acoustic noise. On a stream, an overly loud vocal sounds like karaoke—disconnected from the backing track.
- Subtle Vocal Compression: Apply two stages of mild compression on the lead vocal channel rather than one aggressive stage: a fast compressor to catch sudden peak spikes, followed by a slower opto-style compressor to keep the level smooth and consistent.
- Ducking / Sidechaining: To help the lead vocal sit comfortably on top of a dense worship mix, consider sidechain-compressing (ducking) the instrument subgroup or guitar bus slightly when the worship leader sings. A subtle 1dB to 2dB drop in instrument level keeps the vocal intelligible without losing the energy of the band.
4. Use Stereo Reverb and Delay to Create Depth
A direct console feed sent to a broadcast player can sound dry, clinical, and unnatural. Since stream viewers aren’t sitting in your auditorium hearing the natural acoustics, you need to recreate that space digitally.
- Dedicated Broadcast Reverb: Set up a dedicated stereo hall or plate reverb plugin/aux send specifically assigned to the broadcast mix.
- Add Reverb to Vocals and Guitars: Send a small amount of snare, acoustic guitars, and vocals into the broadcast reverb bus. This adds depth and “glue,” making the band sound like they are playing in a cohesive, polished live room rather than a sterile studio.
5. Control Master Stream Dynamics & Loudness Standard (LUFS)
Live band dynamics are broad—a quiet acoustic intro can quickly transition into a massive chorus. Without processing, home viewers will constantly adjust their remote control volume.
- Bus Compression: Place a gentle master bus compressor on your main broadcast mix (1.5:1 to 2:1 ratio, slow attack, fast release) to pull the whole band together.
- Target Integrated Loudness (-24 to -16 LUFS): Aim for a consistent loudness level on your stream output. Most web streaming platforms target around -14 to -18 LUFS (Loudness Units Full Scale) for online media. Using a limiter or loudness meter plugin on your master stream chain ensures your audio won’t distort or clip, keeping the band sounding full and energetic across all mobile devices and TVs
The Bottom Line
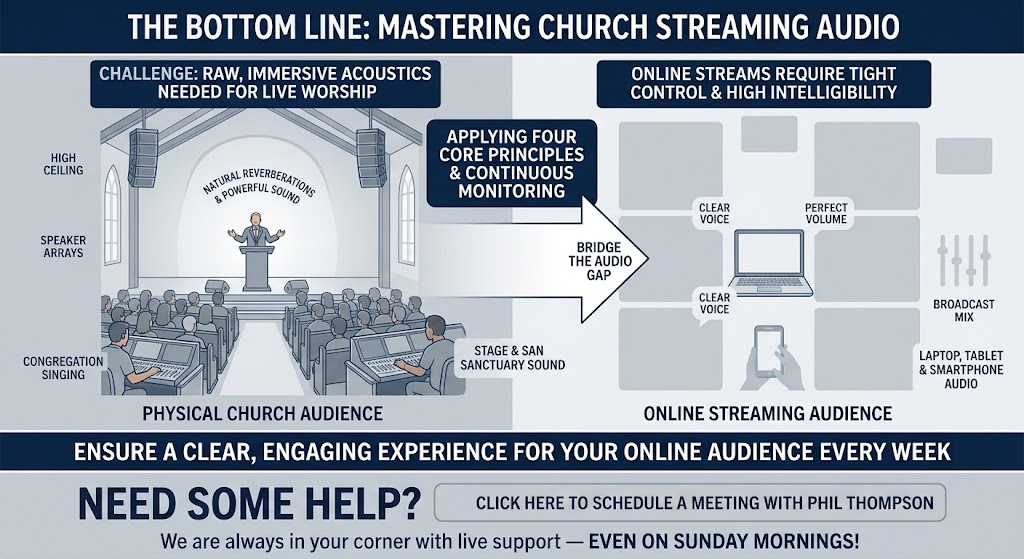
Church streaming audio is challenging because physical rooms need raw, immersive acoustics, while online streams require tight control and high intelligibility for small speakers. By applying these four core principles and continuously monitoring your live stream audio, you will ensure a clear, engaging experience for your online audience every week.
Need Some Help?
👉 Click here to schedule a meeting with Phil Thompson
We are always in your corner with live support—even on Sunday mornings!